
I have seen winter sites fail for one simple reason: snow blocks power, and then the whole system stops. I focus on designs that keep my solar PTZ systems alive.
Yes, I can use high-tilt brackets1, heat-assisted removal2, and a few smart surface features to push snow off the panel and keep the camera running. The best choice depends on snow load, battery size, and how often I expect freezing rain.
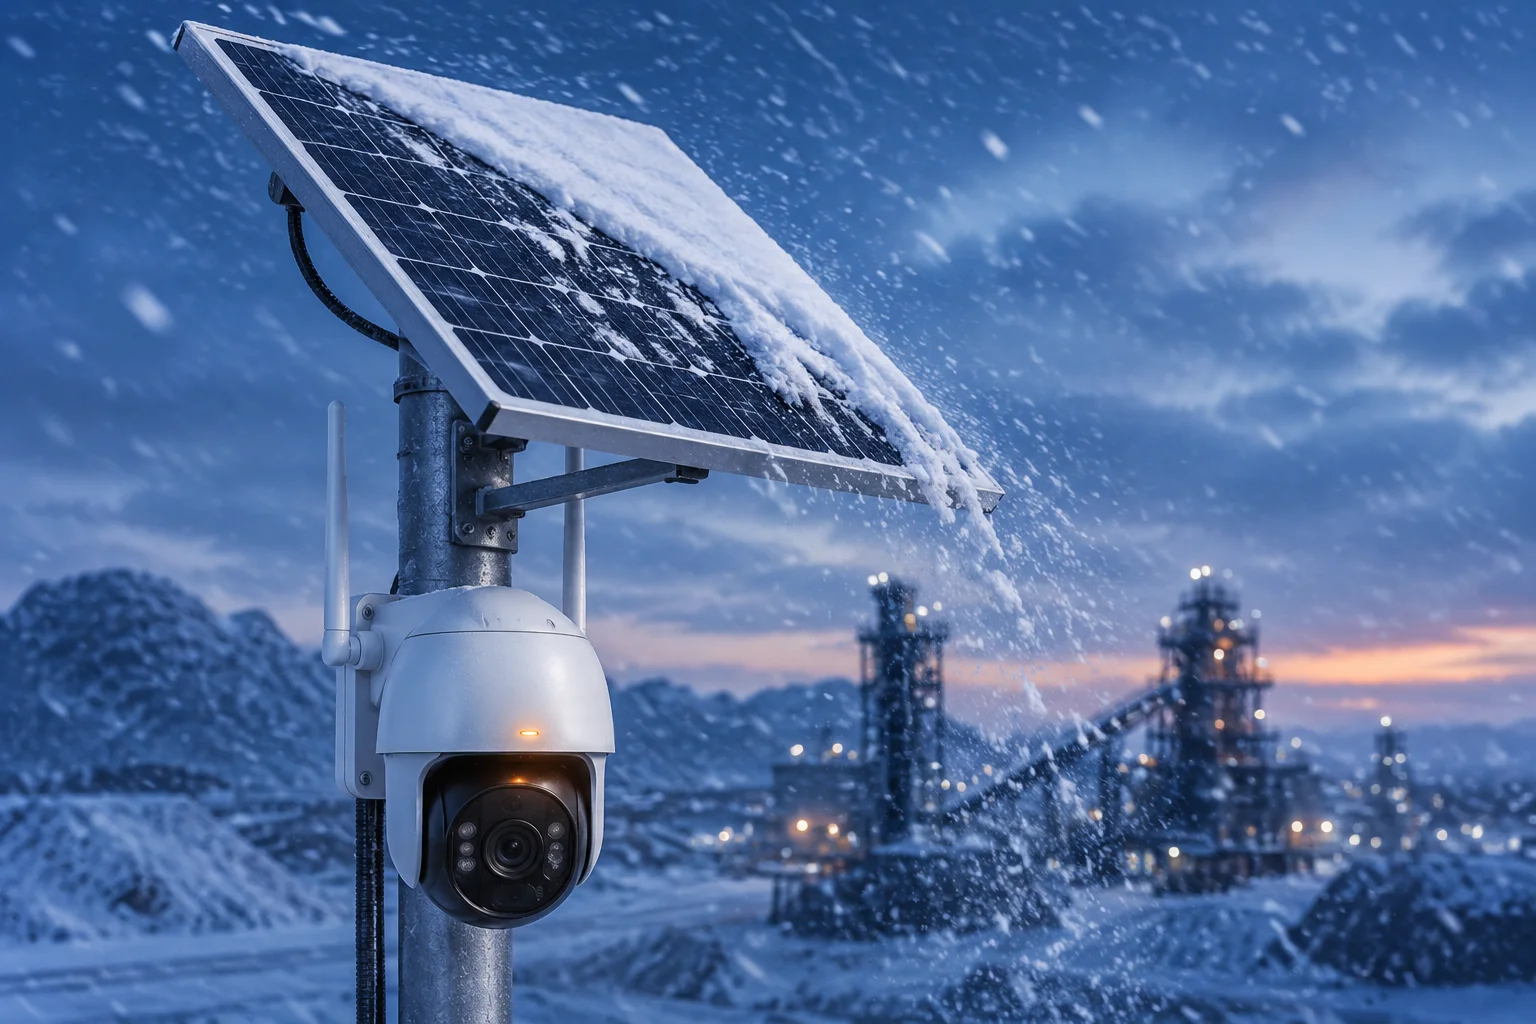 heat assisted snow removal and high tilt solar bracket
I always look at snow as a power problem first. If I solve the snow issue, I protect 4G uptime9, camera uptime, and my customer’s trust.
Table of Contents
Does the 60-degree bracket angle prevent snow from sticking to the solar panel?
I know this problem well. In cold projects, snow can sit on the panel and stop charging, and then my camera dies when I need it most.
A 60-degree bracket helps a lot because gravity can pull snow down faster, but it does not solve every case by itself. It works best when I combine it with a clean lower edge, a smooth surface, and no frame that traps ice.
 60 degree high tilt solar bracket for snow shedding
Why I prefer a steep angle in winter
I usually think of the bracket angle as a snow escape path. When I set the panel too flat, snow stays on top and melts slowly. When I raise the angle, the snow layer becomes unstable. It slides sooner. That is the main benefit.
I also need to be realistic. A 60-degree angle does reduce the chance that snow will stick, but wet snow and freezing rain can still create a hard crust. In those cases, angle alone is not enough. I need the panel surface to be smooth, the bottom edge to be clear, and the wiring to avoid extra ledges that catch ice.
Angle, snow type, and real site results
I split snow into three simple groups:
| Snow type | How it behaves | 60-degree bracket result |
|---|---|---|
| Dry powder | Light and loose | Slides off fast |
| Wet snow4 | Heavy and sticky | May hang on longer |
| Freezing rain5 / ice glaze | Hard crust | Often needs heat help |
I do not treat every winter the same way. A site in Canada with dry snow is different from a coastal site with wet slush and wind. I also watch the sun angle. In low winter sun, a steep panel can still collect useful light while also shedding snow better than a flat one.
What I check before I approve the bracket design
I ask a few direct questions. Does the lower edge have a lip that can hold snow? Is the frame flush enough to let snow slide? Does the bracket shake in high wind? If the answer is no, then I have a better winter setup.
I also avoid designs that depend only on tilt. I want the whole system to work together. That means a strong mount, a smooth panel face, and a battery plan that can survive a few cloudy days. If I build the system this way, the 60-degree angle becomes a real advantage instead of just a number on paper.
Can the internal heat of the camera housing help melt ice on the lower lens area?
I have seen many projects fail because the lens fogs up or freezes at the bottom. That small ice ring can ruin the whole image.
Yes, the internal heat of the camera housing can help melt ice near the lower lens area, but only if the housing is built to move heat to the right place. It works as support, not as a full snow removal system.
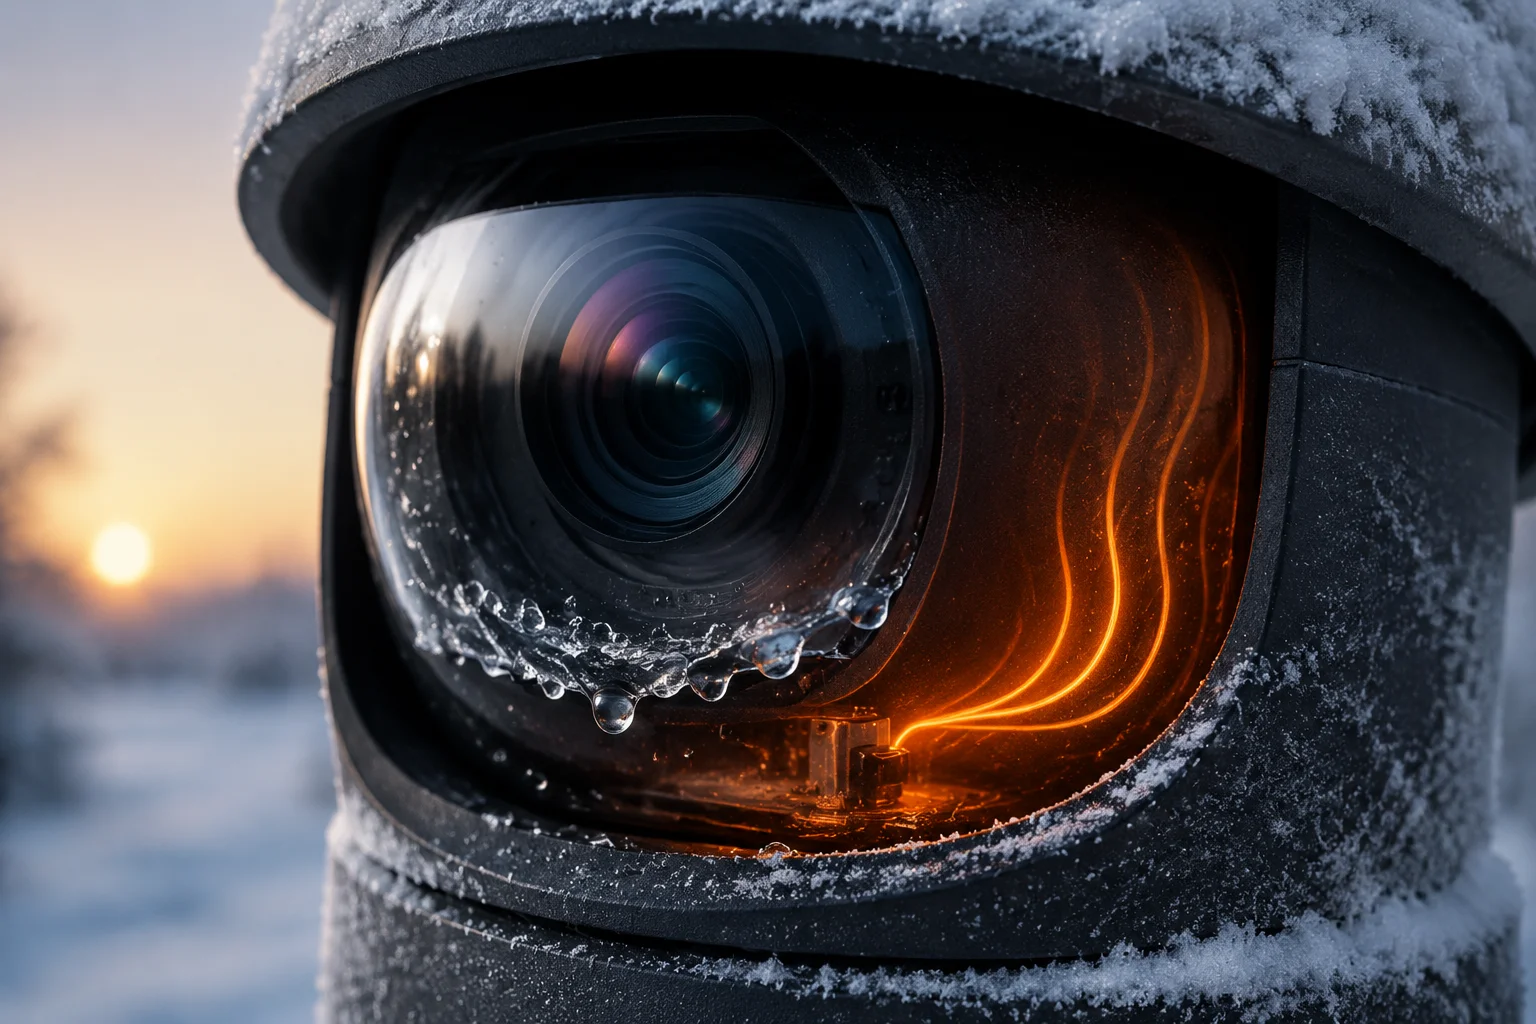 camera housing internal heat for lens de-icing
Why small heat can make a big difference
I like to think about the camera housing as a small warm box. If the electronics inside make heat, that heat can rise and warm the glass near the lens. That can reduce frost, stop light condensation, and help clear a thin ice layer.
But I do not expect magic. If the housing is weak, the heat may stay inside the shell and never reach the lower lens edge. If the outside air is too cold, or if wind is strong, the heat can disappear very fast. So I need good insulation, good vent control, and a shape that sends warmth toward the glass.
Housing heat is useful, but it has limits
I look at this feature in three parts:
| Factor | Good effect | Weak point |
|---|---|---|
| Internal electronics heat | Helps keep glass warmer | Not always enough in deep cold |
| Sealed housing design | Protects from wind and wet snow | Can trap moisture if poorly designed |
| Lens heater strip7 | Direct heat on glass | Uses more power |
If I want real ice control, I often use a lens heater or anti-fog design8 along with the normal housing heat. That gives me better control over the lower lens area, where frost often starts first.
What I tell a buyer who asks about winter lens freeze
I tell the buyer that housing heat is helpful, but it is not the full answer. I still need the right heater power, the right glass angle, and a clear hood above the lens. I also need the camera to start fast after a cold night, because many failures happen at dawn when the temp shifts and moisture turns to frost.
For my kind of customer, this matters a lot. If a remote site loses image quality for one morning, the cost is not small. A truck roll can cost more than the camera. So I treat lower lens heating as a real engineering feature, not a nice extra.
Will the supplier provide a “Snow Load” certificate for the solar mounting hardware?
I know why this question matters. If the mount fails under snow, the whole solar system can drop, twist, or stop working.
Yes, I should ask for a Snow Load certificate3, but I also need to check the test method, the load number, and the local code match. A certificate only helps if it is real, clear, and tied to the actual mounting design.
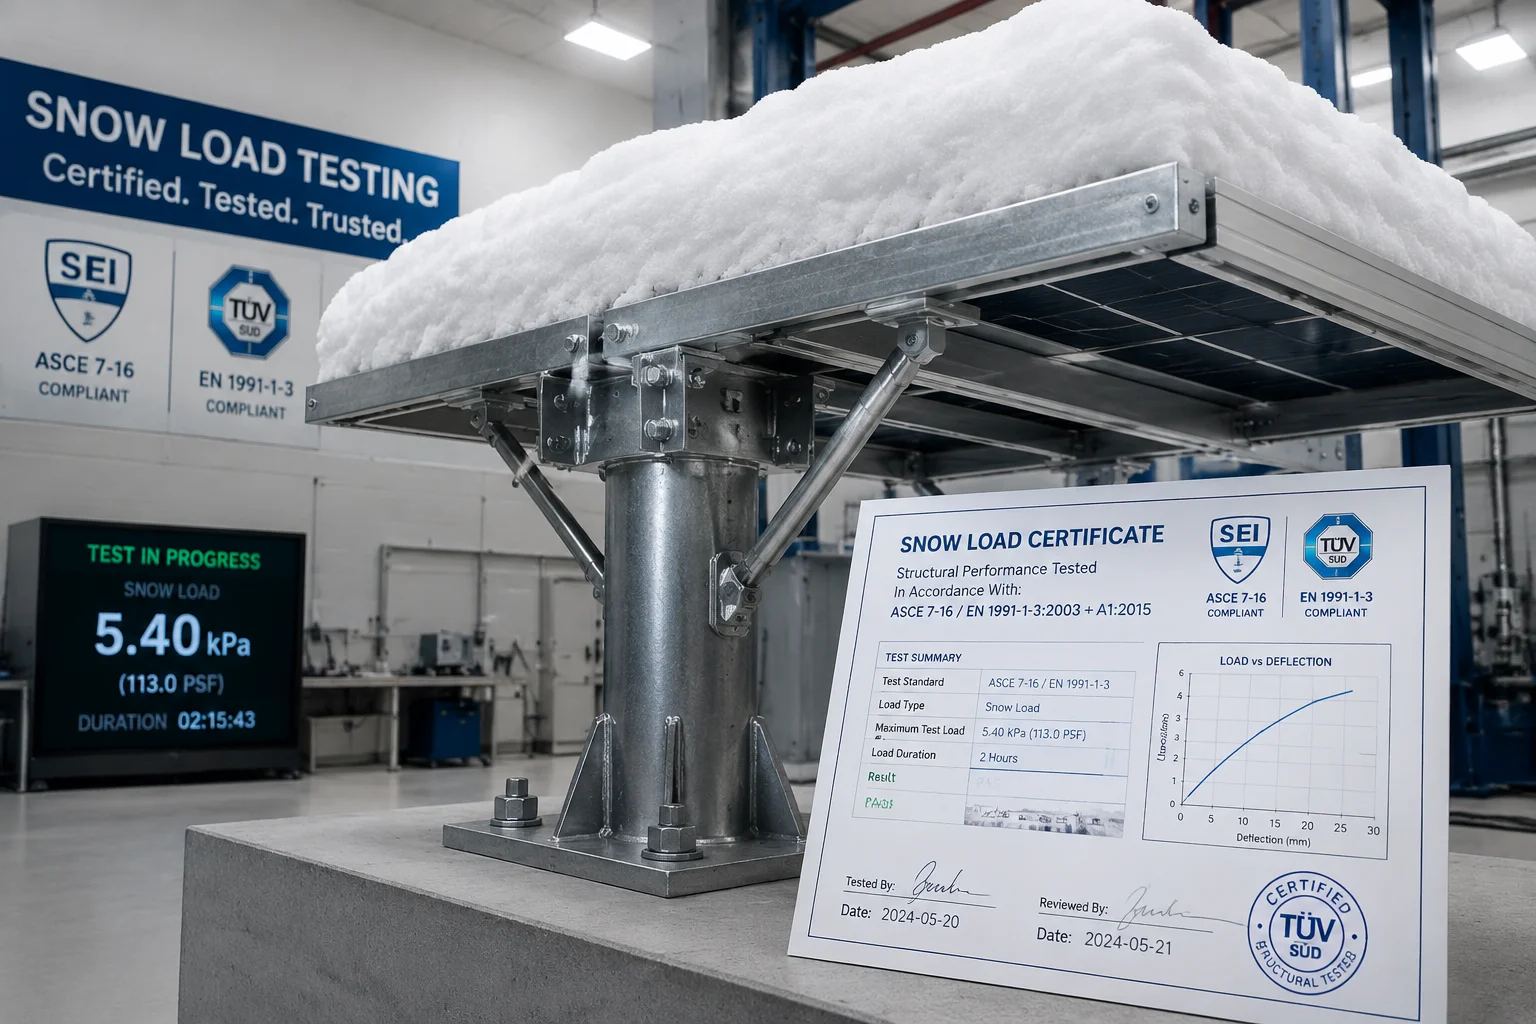 snow load certificate for solar mounting hardware
Why snow load proof is not just paperwork
I never treat a certificate as a sales line only. I treat it as part of the design check. A good snow load report tells me how much weight the bracket, rail, or frame can hold before it bends or fails. That matters in Canada, northern Europe, mountain areas, and any place with heavy seasonal snow.
If the supplier cannot show a proper test, I get nervous. I want to know the load unit, the safety factor, the test position, and the exact hardware version. A mount that passes one test may still fail if the actual field installation changes the angle or the span.
What I ask the supplier to show me
I usually ask for these points:
| Item | What I need | Why it matters |
|---|---|---|
| Snow load rating | Clear load number | Shows holding capacity |
| Wind load rating | Clear wind number | Wind and snow work together |
| Test standard | Named standard or lab method | Helps verify trust |
| Hardware version | Exact model code | Avoids mix-up |
| Installation angle | Tested angle range | Angle changes load behavior |
I also ask for photos or drawings of the test setup if possible. A flat lab setup is not always the same as a real rooftop or pole mount. I want the proof to match the job site.
How I use the certificate in my project work
When I build a solar PTZ system, I do not just look at watts and camera specs. I also look at the mount. Snow can create a heavy downward force, and wind can push sideways at the same time. That combo can make a weak bracket fail fast.
A real Snow Load certificate helps me reduce risk. It also helps me explain the design to the end customer. If I am working with a city project, a farm, or a remote industrial site, that paper can support the engineering file. It can also protect me during project acceptance if someone later asks why I chose that structure.
Is there a manual “Vibration Mode” to shake loose heavy snow from the panel surface?
I like this idea because some winter problems need a simple physical push. Heavy snow often sticks until something changes its grip.
Yes, a manual vibration mode10 can help shake loose snow, but I only trust it if the system is built for it. It works best as a backup feature, not as the main snow removal method.
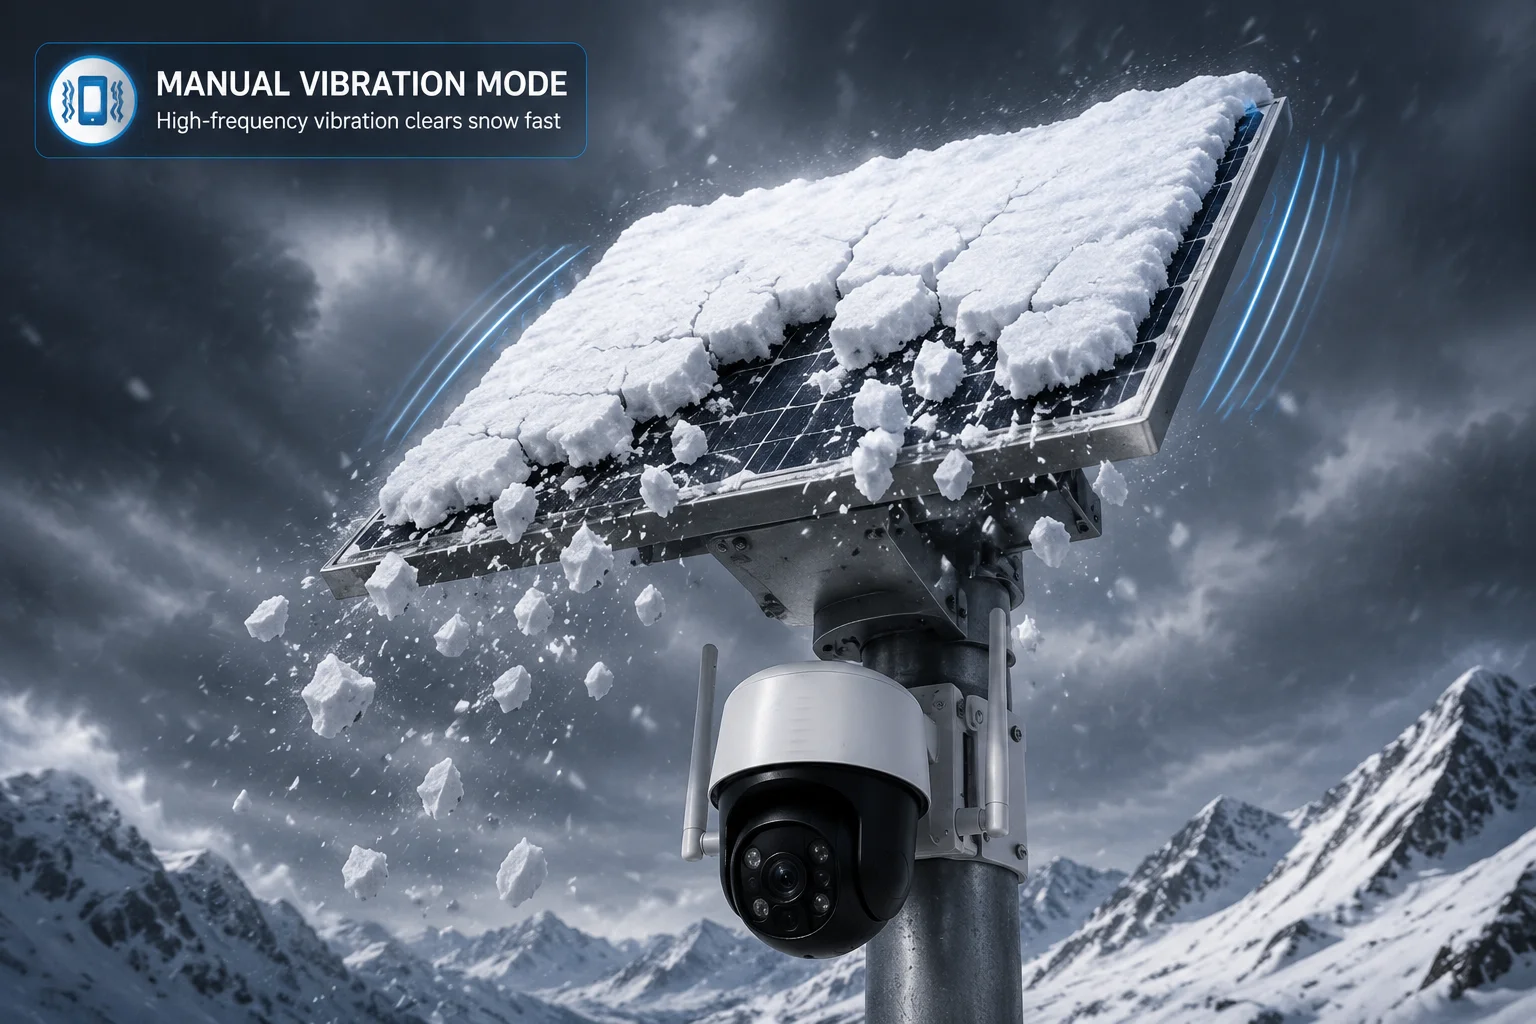 manual vibration mode for snow removal on solar panel
How vibration helps in the real world
When snow sits on a panel, it often creates a flat, heavy blanket. If I can make the panel or bracket move a little, the snow loses balance. That small shake can start a slide. This is useful when snow is thick, wet, or partly frozen.
I do not want strong random shaking, though. Too much vibration can hurt connectors, loosen screws, or shorten the life of the mount. So I prefer controlled movement. I want a short pulse, a safe frequency, and a limited duty cycle.
Where vibration mode makes sense and where it does not
I can compare the options like this:
| Method | Good use case | Main risk |
|---|---|---|
| Manual vibration mode | Heavy snow on stable mount | Hardware wear if overused |
| Heat-assisted strip | Ice bond and frozen edge | Higher power use |
| High-tilt bracket | Frequent snow slide-off | Less summer power gain |
| Hydrophobic coating6 | Reduce sticking | Coating wears over time |
I usually see vibration as a support tool. It is good when snow starts to cling, but it is not enough for a true ice glaze. If the site has freezing rain, I still need heat. If the site has deep snow, I still need the right angle and a safe edge shape.
Why I would combine vibration with other winter features
I prefer a layered winter design. First, I use the bracket angle to make snow want to fall. Second, I use a smooth panel face so snow does not grab. Third, I add heat near the bottom edge or lens if needed. Fourth, I keep vibration as an emergency push.
That approach gives me more control in bad weather. It also helps me protect battery life. I do not want to run heaters all day if a small angle change can do most of the work. For a remote 4G solar camera, every watt matters. If I save power, I keep the radio online longer, and I reduce the chance of a cold-weather shutdown.
Conclusion
I build winter solar camera systems with one goal: keep snow from winning. The best designs use tilt, heat, surface control, and careful hardware checks together.
1. Learn how high-tilt brackets improve snow shedding and winter performance of solar panels. ↩︎ 2. Understand the principles and energy considerations of heat-assisted snow removal for solar panels. ↩︎ 3. Find out how snow load testing and certification ensure mounting hardware reliability under heavy snow. ↩︎ 4. Understand the challenges wet snow poses for solar panels and snow removal strategies. ↩︎ 5. Learn how freezing rain creates ice crusts that require additional removal methods beyond tilt. ↩︎ 6. Explore how hydrophobic coatings reduce snow adhesion on solar panels. ↩︎ 7. See how integrated lens heater strips prevent ice formation on camera lenses. ↩︎ 8. Understand how anti-fog coatings and housing designs keep camera lenses clear in winter. ↩︎ 9. Learn how cellular network reliability and backup power affect remote camera uptime in winter. ↩︎ 10. Discover how controlled vibration can dislodge snow from solar panels without damaging hardware. ↩︎